So I'm going to share with you my thought process of deciding what to do for the painting, how I did it, etc. etc. etc., and finally, the end result!
*I draw everything in Microsoft Paint (fancy!) before I paint - it helps me decide on everything from composition to colors. Please forgive me.*
First, I decided I wanted to do these little bumpy wave pattern things because they were part of the pattern on one of my dresses and while wearing it a few weeks before Ben "commissioned" me, I decided I really like the pattern and wanted to put it to use somehow. So, I thought, perfect way to put this pattern to use!
So I drew it up in Paint . . .

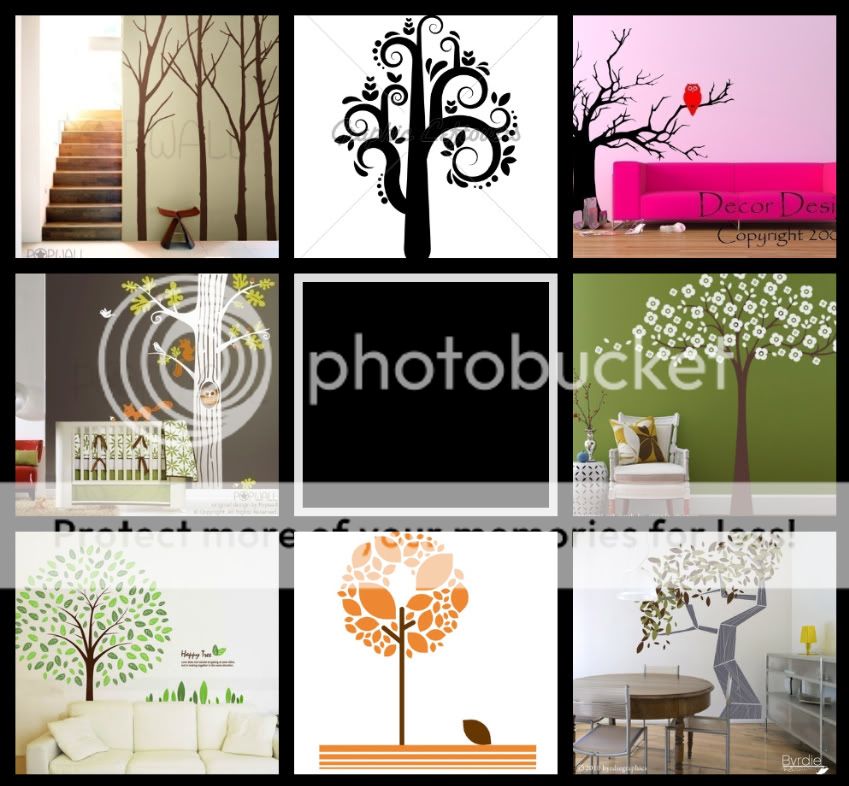
. . . and decided I wanted to do this for the background of the painting. So then I just had to decide what the main image of the painting would be. I went to Google Images and typed in random things that came to my head. I'm very productive like that, you see. Finally, somehow, I don't know exactly why, I decided to do a tree. So I started typing in "Tree silhouette" and "tree wall decal" and things of that nature to come up with some images that I liked. These are they:

Using these trees for inspiration, here is the first tree I drew in Paint:
[Yes, it's hideous!] [don't you love the bird??]

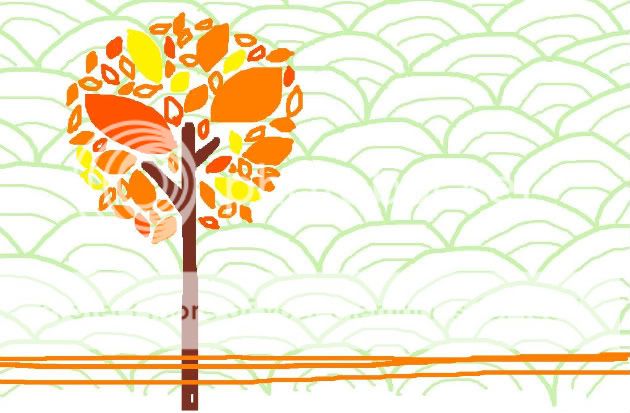
Then, after feeling sad and like this painting was going to really suck, I tried again, more copying the little orange tree. I Paint-ed this:

Okay, things are looking up! Before getting any further on this project, I decided to Facebook-send Ben the Paint-ing above, and below, and see what he thought.

I told him this was a subject matter and composition thing only - the colors could be changed.
He told me he liked the portrait oriented one better, so next up was deciding colors (the fun part)!

So then I Facebook-sent him all these different color schemes to give him an idea of what he might like - he liked the blue one (one of the walls of his office is a pretty sky blue), so that was that!
**Just a little side note, my favorite one was the green and yellow one - oh well!**
Next step - buying the supplies. I bought an 18 x 24 inch canvas from Michaels, and the paint. Oh, the paint. I would be using acrylics, as always. And I knew I didn't want to go around mixing my own colors - if I ever need to replicate the same color again, it's nearly impossible. So, I spent a while grabbing a bunch of different blues and seeing how they looked together to decide on the final contenders.
Next step - buying the supplies. I bought an 18 x 24 inch canvas from Michaels, and the paint. Oh, the paint. I would be using acrylics, as always. And I knew I didn't want to go around mixing my own colors - if I ever need to replicate the same color again, it's nearly impossible. So, I spent a while grabbing a bunch of different blues and seeing how they looked together to decide on the final contenders.

I ended up using all of these except one color - it was a bit too green.
Also, I learned a valuable lesson about paint - the cheap stuff is cheap for a reason! You have to spend a lot more time painting to get a solid looking coat, so next time I am definitely spending the extra quarter to get a little better quality paint. My favorite of the 3 types I got was Americana.
Next I had to get my design onto the canvas so I could get started painting! It was a long and dumb process, but basically I drew my design onto some poster board as a rough draft before doing anything to the canvas. Then I cut it out so I could arrange it on the canvas. The hardest part was arranging the leaves. I cut out tons of leaves in 3 uniform sizes (except I made 1 BIG leaf), 2 big ones, some mediums, and tons and tons of the smallest ones. I arranged them all on the poster board first, would take a picture, and rearrange them until I got an arrangement that I liked.

This is the final arrangement - very messy. I colored the leaves blue so I could see them better.
So I took this picture and then took the cut-outs and put them on the canvas, trying to get everything in the same place it was on the poster board - this is where taking a picture came in handy.
***It was during this process that I realized doing the bumpy wave pattern would be too much work! So, lazily, I ditched that idea.***
After I had the cut-outs where I wanted them, I traced them, lightly, with a regular old pencil onto the canvas (which I had painted white earlier). I decided which leaves I wanted which color (to try to avoid getting any of the same colors right next to each other), and started painting!

Basically, I sat and watched a million Netflix movies while I painted. I don't know exactly how many hours it took me in total, but from start to finish - Ben telling me he wanted a painting, and me actually giving it to him - it took 2 months. But most of that was me procrastinating and letting it sit.
Without further ado,
The finished product - TA DA!!!


I had a lot of fun doing this project. It's the first time I've ever painted anything for someone other than myself, so I liked it a lot. =) I went and saw it hanging in Ben's office the other day and it looks pretty good in there!
Sorry for the overload of information and pictures. =)


5 comments:
LOVE IT!!! Good job Berrie :) I'm next! ;) Where in the office is it? I didn't even see it when I was in there! Dang now I'll have to wait a few days :(
It's just in the Brigham office, on the wall across from the door. You can't miss it.
I love this post! It really shows how much work it takes to create art! You did a fantastic job and I can testify, it looks even better in real life!
You did a good job. The green and Yellow was also my favorite one.
I LOVE IT!!! I may have to ask a favor of you one of these days :) You are super talented. I love the style.
Post a Comment